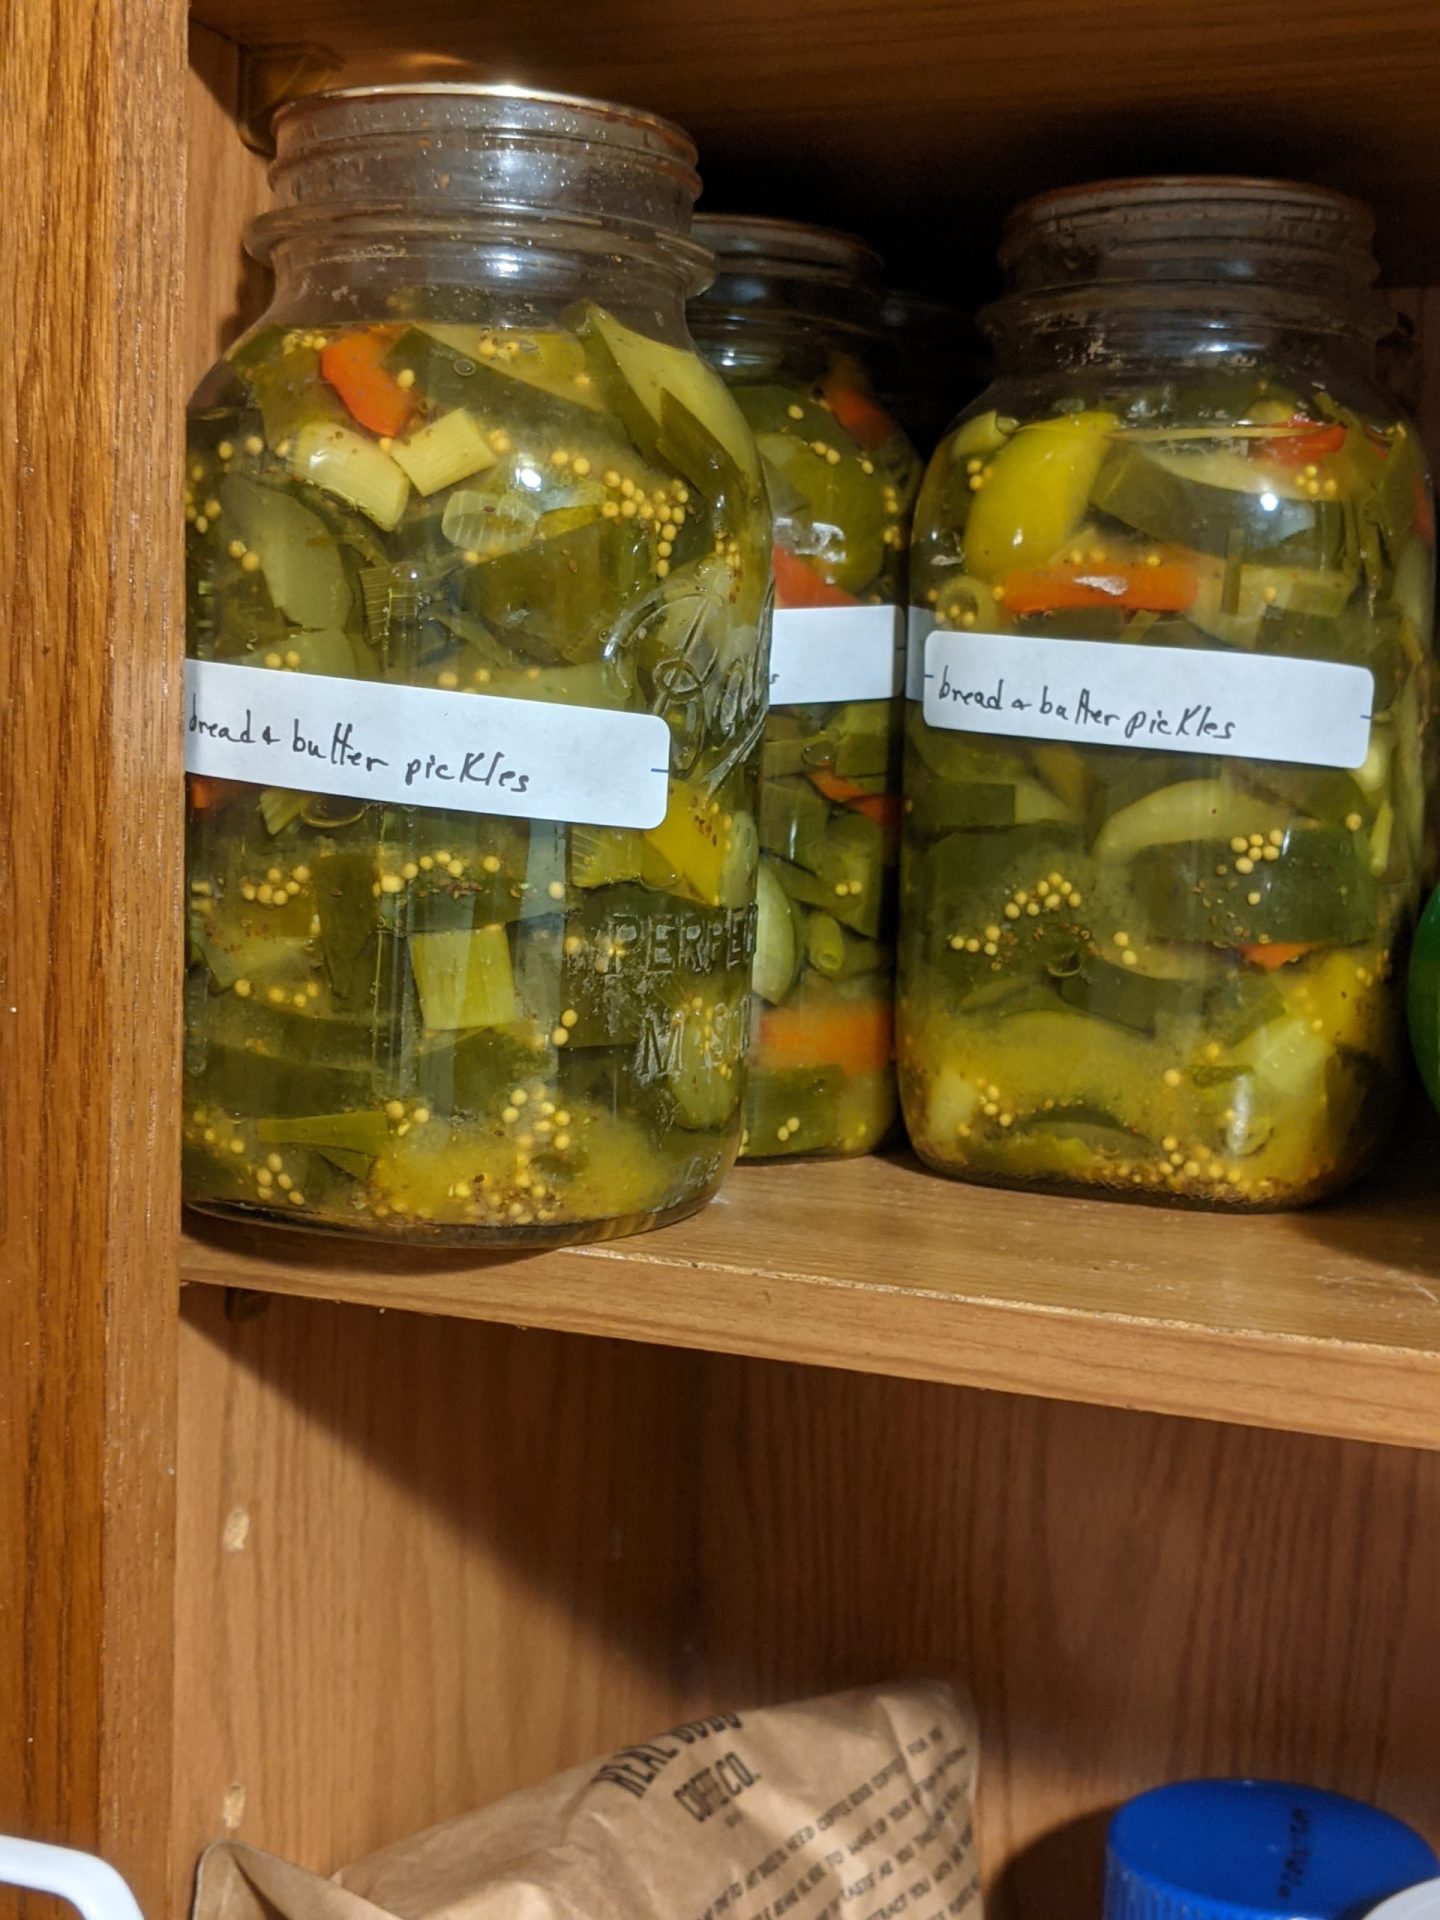
Are we tired of pickling yet? Well, it’s still pickling season here at my place! And these are my absolute FAVORITE pickles of all time. Most bread and butter pickle recipes have you can in pints, but I can these babies in quarts as pints are just not big enough for me!
Yes peeps, I know all my pickle and relish photos suck. That’s cause they’re real and I’m not a photographer! I’m just an ex-diabetic making her annual pickles in her tiny kitchen.
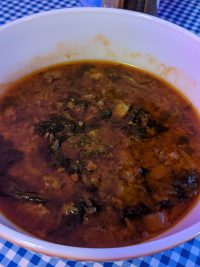
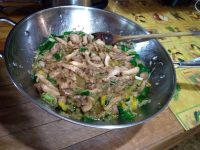
The way I use these is not just as a condiment, but as the entire fourth layer of an RBS, as Amanda calls it “The Other Stuff” after the greens, salad dressing and protein. It makes for a pretty lean salad to throw these on top instead of cheese or nuts or avocado, and they’re flavorful enough to not make me feel like I’m missing something.
An example salad for me would have a mix of chopped romaine and spring mix, Amanda’s poppy seed dressing, roasted chicken thighs and then a cup or two of these pickles as the fourth layer. They work well with the “honey” mustard dressing as well.
If you’ve no idea what recipes I’m talking about, I’m referring to the Ridiculously Big Salad book which is shown in the sidebar to the right. HIGHLY recommended, I’ve built my life around it and am no longer diabetic and down 70 pounds (which you can read much more about on this blog).
But if you are just here for the pickles, this recipe will not disappoint! IMNSHO, these are the *perfect* sugar-free bread and butter pickles.
In past years, I made both sugar and stevia versions of these and my sweet onion relish and no one could tell the difference, so I just stuck to the sugar-free version thereafter. Unlike many “keto” recipes, my pickles and relish are truly delectable as is.
Well, enough bragging on myself and on to the actual information… this is a water-bath canning recipe. If you don’t have a real canner, don’t despair, we don’t need one for this; here’s my “hack”…
My recipe is a canning recipe, but has enough vinegar that it doesn’t require a pressure canner; a water bath canner is fine.
simplifying canning
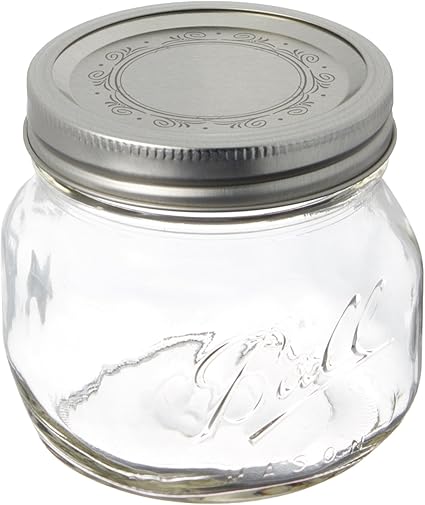
In the real world, this basically means a pot that you can put the jars in and have them covered with boiling water; most stock pots would be fine. As a general rule, you want a trivet or kitchen towel in the bottom of the pot to keep the jars off of direct heat so they don’t shatter. Most of us probably have something we can use without specifically buying a canner; you just need a set of pint-sized jars with two-part lids, available at any grocery or dollar store this time of year.
The wide-mouth jars tend to be shorter and thus easier to submerge in a pot you already own. The jars come with lids, though if you reuse the jars, you will need to buy more lids as the lids only seal properly once.
There’s a link for appropriate jars to the right, but honestly, you can probably find them locally much cheaper as they’re not cheap to ship; on the other hand, Amazon may get them to you before you can get to the store!
CANNING: SUGAR-FREE BREAD AND BUTTER PICKLES – Makes 2-3 quarts.
INGREDIENTS
- 6-7 medium cucumbers (fullsize, not the little pickling cukes)
- 10 scallions
- 1 bell pepper (red or orange is most striking)
- 2 TB canning, pickling or kosher salt
- 2 1/4 cups apple cider vinegar
- 1 1/2 cups water
- 1 tsp PLAIN powdered stevia (not something with additives to bulk it up, that will measure very differently)
- 1 tsp turmeric
- 1 tsp celery seed
- 1 1/2 TB mustard seed
METHOD
- Wash and slice the cucumbers. Dice the scallions and bell peppers.
- Mix the veggies with the salt in a large plastic or glass bowl. Top with a tray of ice cubes, cover and let stand for 3 hours.
- Place vegetables in colander and rinse well. Let drain for 1 hour.
- Fill hot-water bath canner with water and bring to boil. Place 3 quart jars in bath to sterilize.
- Combine rest of ingredients in Dutch oven and bring to boil.
- Add vegetables and simmer for 10 minutes.
- CAREFULLY remove each jar from boiling water bath and ladle relish into it, leaving about 1/2 inch head space.
- Place the flat part of the lid on each jar, then finger-tighten the ring over it to hold the lid securely in place.
- CAREFULLY place each jar in the boiling-water bath, making sure the water covers the top. Boil for 10 minutes.
- CAREFULLY remove jars from bath and place on a kitchen towel to let cool.
- Once totally cooled, remove the rings. Check that the lid is sealed. Label and store in a cabinet.
- If one didn’t seal, you can just stick the ring back on and refrigerate it to use in the near future.